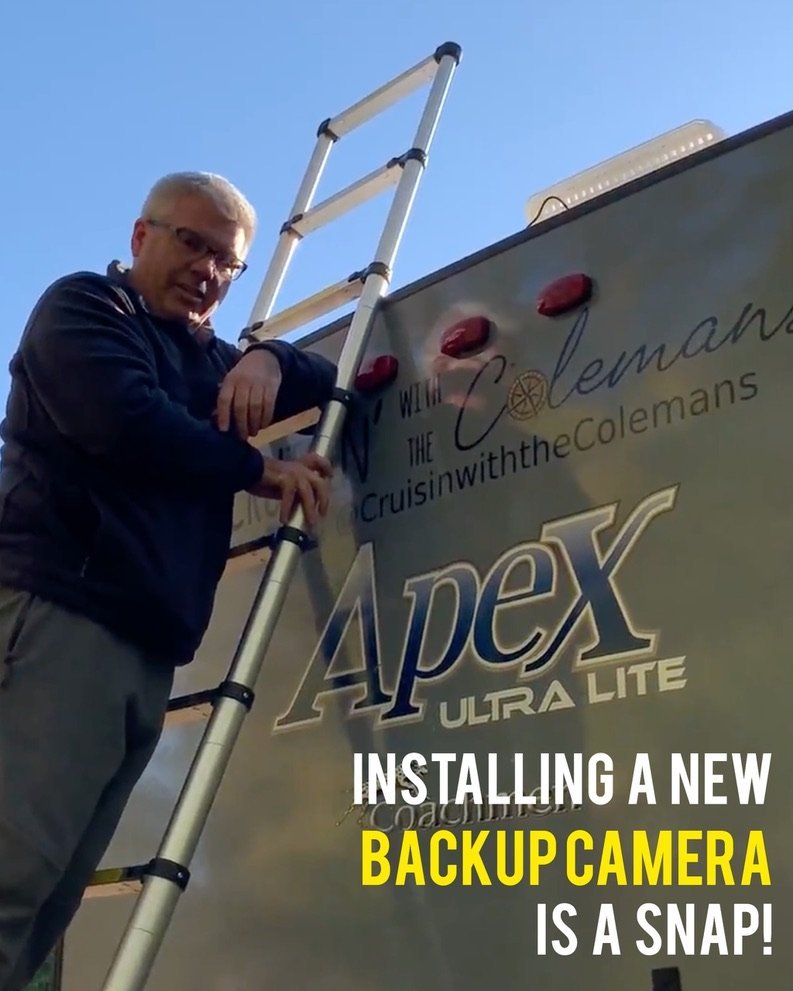
This means fewer “discussions” when backing up the RV, right? Oh, how I hope so! The camera has been used several times already and I can affirmatively say, “YES!” we are having few “discussions” (aka – arguments) over backing up the rig and that means this camera is priceless!
We found the camera on Amazon because of 3 reasons. (1) It had several good reviews, (2) it was wireless, (3) the wireless reception worked up to 60 feet which works for the length of our rig and truck, and (4) it didn’t break the bank at only $140. Here is the camera we landed on:
Watch the video if you are ready to install a camera on your rig or if you just wanted to be entertained! Haha, Brian had a lot of fun with sound effects in this video. This installation project took us less than an hour. It didn’t take long because the camera fit perfectly in our middle brake light.
In order to install this camera all you need is wire cutters, a screwdriver, and wire nuts. Before you start, make sure you turned off power to your rig and know what color your wires are so you don’t get them mixed up. For us, the white is the neutral (ground), the green is the 12V and the blue is the 110V. Finally, make sure you buy a backup camera that will work with the length of your rig and tow vehicle. The first time we bought a camera we didn’t buy one that had a long enough range. Our rig is almost 30′ so this camera is perfect with a 60′ range. Make sure you are taking a measurement that includes the length of your tow vehicle, not just the rig.
The camera has made a big difference already. We are both more confident on the road because we can see what’s around us and backing up is much easier. We are thrilled with the camera both during the day and at night.
If you are inspired to install a camera, we want to hear from you! Leave a comment below. If you have questions, please ask away. I don’t know if we will have the answer, but we will sure try.
Until next time!


How did you end up sealing the larger opening behind the camera where the wires went through the actual rear wall??
I wasn’t too concerned about it initially because the amount of water that could infiltrate the opening is so negligible but then had second thoughts. I’m using a piece of latex glove (the ones we use when dealing with our black/grey dumping) behind the light bracket. I just unscrewed the whole thing, put the piece of latex in, and screwed it back down. I’m going to check it out Thanksgiving week to see how it’s holding up since we’ve had both rain and snow in the past weeks here.
Is that a collapsible ladder?
Sue, yes, it is! We love this ladder! It is lightweight and easy to carry! Here is a link to the ladder: https://amzn.to/2DqFx5e. Hope that helps!